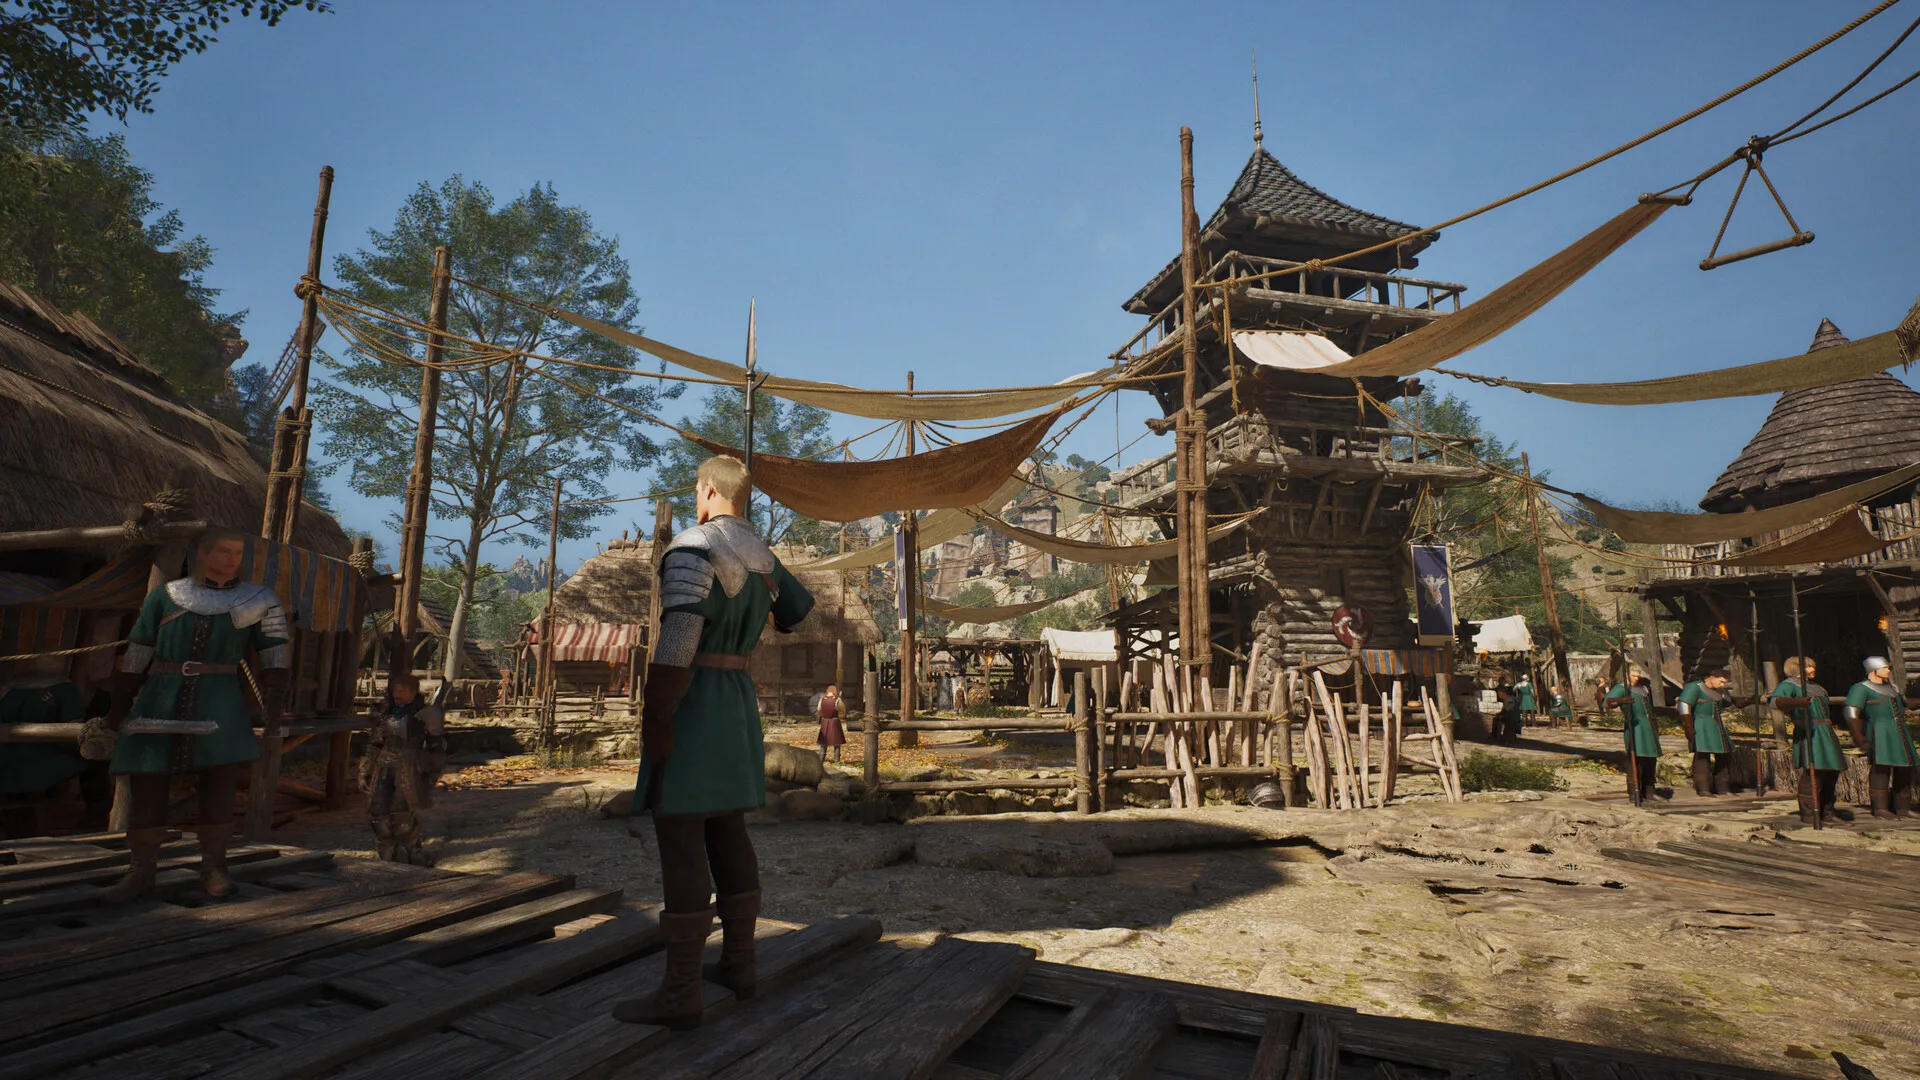
Pick a class and weapon you enjoy, play in a Peace channel, and spend your time on quests and exploration, because that is where most of your EXP comes from. Put stat points into your main attack stat, and hunt for Raeven’s Coilstones, which are the only source of trait points. This guide uses what XLGAMES has said officially, plus the first published rankings and starter builds. Treat each tip as a sensible approach rather than a verified result.
Know what kind of game this is
Steam describes ArcheAge Chronicles as an action combat game. You jump, roll, dash, block and parry rather than relying only on a traditional hotbar. Zones are split into channels of about 100 players, and dungeons are instanced for you or your party.
Guides written for the 2014 ArcheAge describe a different game. XLGAMES has not said that older systems return, so do not assume they do.
Step 1: Choose a class and weapon
There are four classes at Early Access: Warrior, Ranger, Berserker and Mage. Each has two weapons, eight in total. Every weapon has its own trait tree, so your weapon choice shapes how you fight.

- Warrior: Longsword or Greatsword.
- Ranger: Longbow or Hatchets.
- Berserker: Axe and Shield or Warhammer.
- Mage: Elemental Staff or Wavesword.
The Warrior weapon pairings come from official posts. The pairings for the other three classes come from MMORPG.com’s class previews. Classes are gender locked at launch, so check the character creation guide before you commit. Our tier list has first solo and PvP placements (Nov 4). Most of those sources tested the October demo, so treat them as a starting point.
A sensible approach for a first character is to pick the class and weapon whose style you like the most. XLGAMES has not said how easily you can switch later.
Step 2: Spend stat points
Every level gives stat points, and you decide where they go. There are six primary stats:
| Stat | What it does |
|---|---|
| Strength | Raises physical attack |
| Intelligence | Raises magic attack |
| Agility | Boosts crit chance and adds some physical attack |
| Constitution | Raises HP and crit resistance |
| Endurance | Raises stamina and defense |
| Talent | Supports magic attack and lets you use better gear without penalties |
One point always buys one stat, no matter how high it already is, according to the progression post. The character screen shows how your attack and crit will change before you lock a point in, and you can hold a stat button to raise it continuously.
Because each point is a flat +1, a sensible approach is to stack your main attack stat first: Strength for physical builds, Intelligence for magic builds. Add defensive stats if you keep dying. XLGAMES has not said which stats it recommends per class.
Step 3: Hunt for trait points
Trait points are separate from your level. They come from Raeven’s Coilstones, and every Coilstone sits near a powerful boss. Some bosses are in the open, some are hidden, and some only appear through certain quests. If you have found a Coilstone, there is a fight standing between you and it.
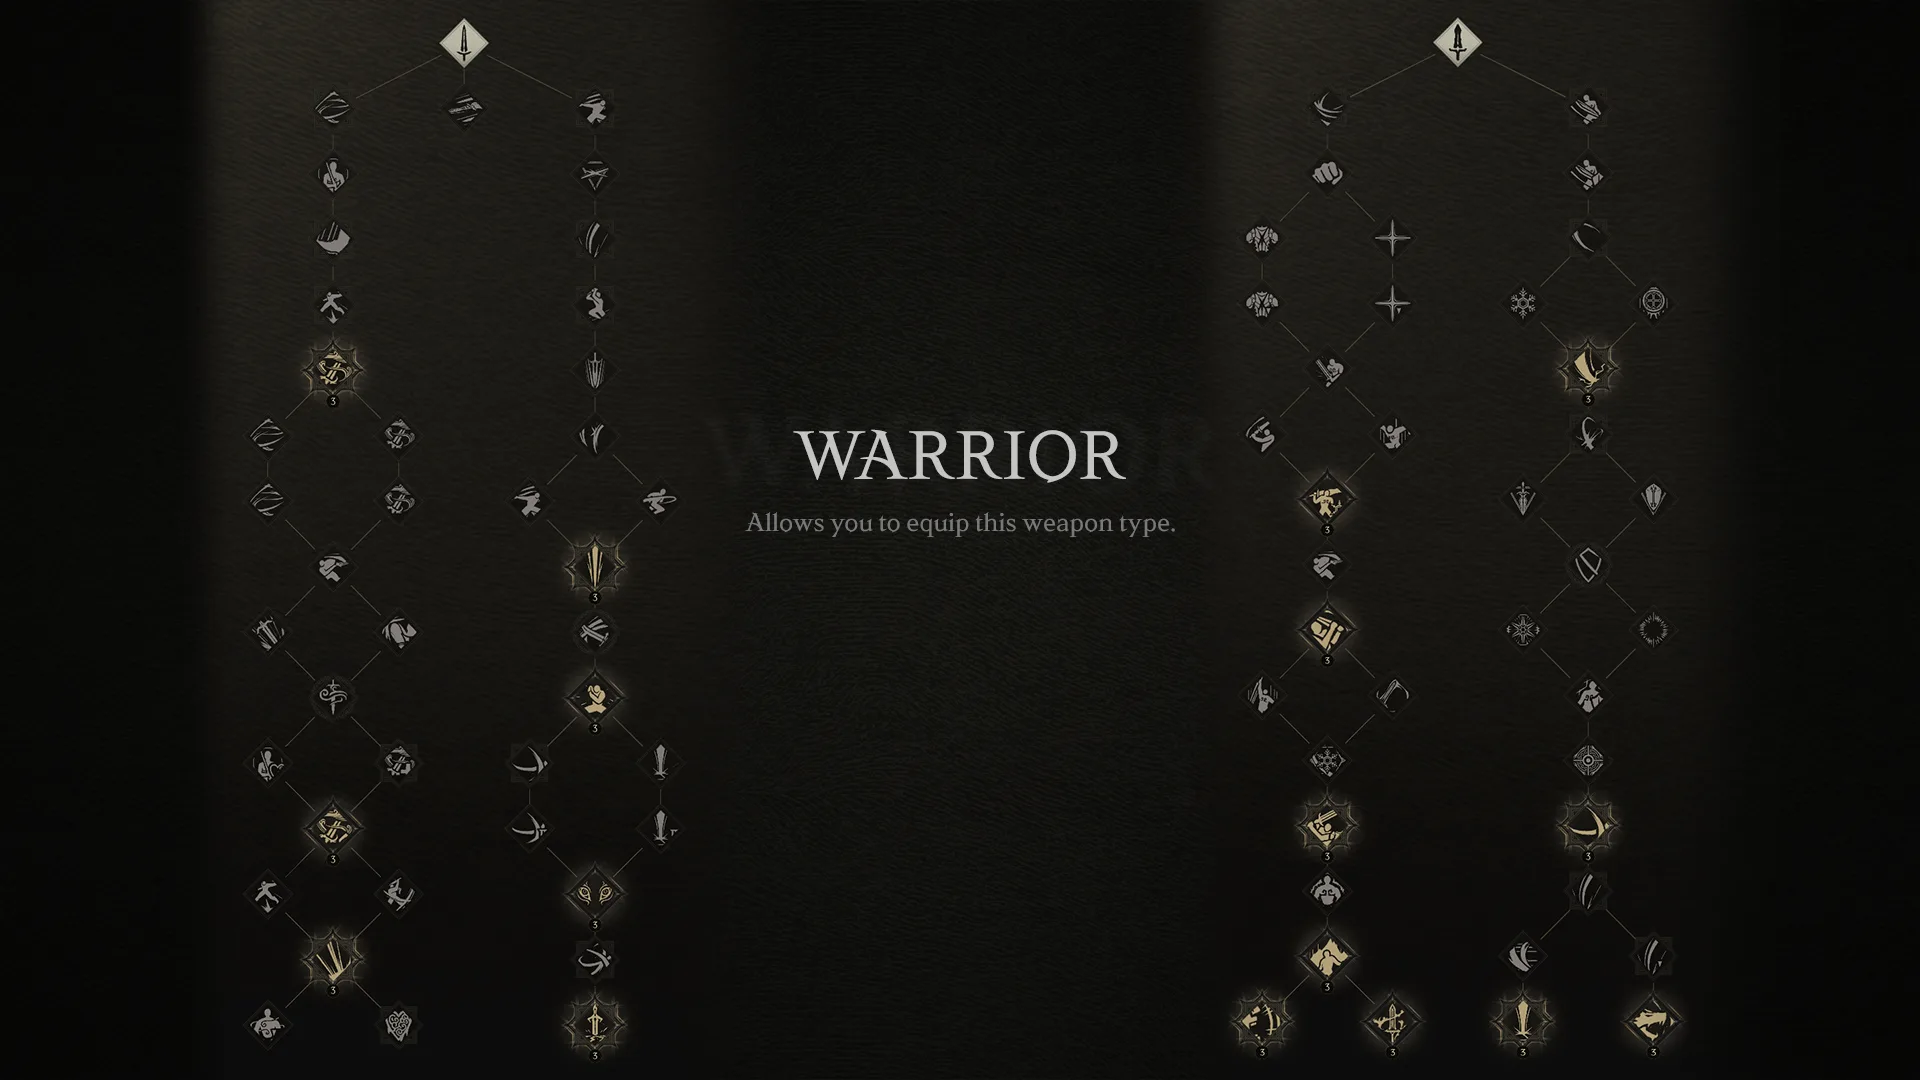
You spend trait points in the Traits menu. Nodes may give small stat boosts, new skills, or changes to how an existing skill works. For example, the progression post describes a Greatsword damage path that unlocks Armor Break and changes Sunder into Sweeping Slash, and a defensive path that adds Pummel Strike.
A sensible approach is to explore early, find Coilstones, and make one clear choice per tree instead of spreading points across both paths. XLGAMES says costs and tree layouts may change based on feedback.
Step 4: Collect Nui Tears
Nui Tears are scattered across the open world. Bring them to a Nui Statue to raise your maximum HP. The first few increases need only a handful of tears, and each one after that needs a few more. It is something you build over the whole journey.
Chests and discovered objects can be opened once per character, so you are never racing another player for them. Chests can hold gear and rare crafting recipes.
Step 5: Use Peace channels first
In standard Peace channels, players cannot attack you. In PvP channels, everyone except your party and guild can. The zones, monsters and quests are the same. PvP channels give about 10 to 15 percent bonus EXP on monster kills.
Switch at a Nui Statue, and expect a cooldown. A sensible approach is to practice dodging and blocking in a Peace channel first. See the PvP guide.
Step 6: Try dungeons and Hersander’s Tower
Dungeons are instanced for just you or your party of up to four. Quest progress is shared inside, and you can do them solo. Dungeon progress now survives a disconnect in every Early Access region. Some solo-only sections can now be played in a party.
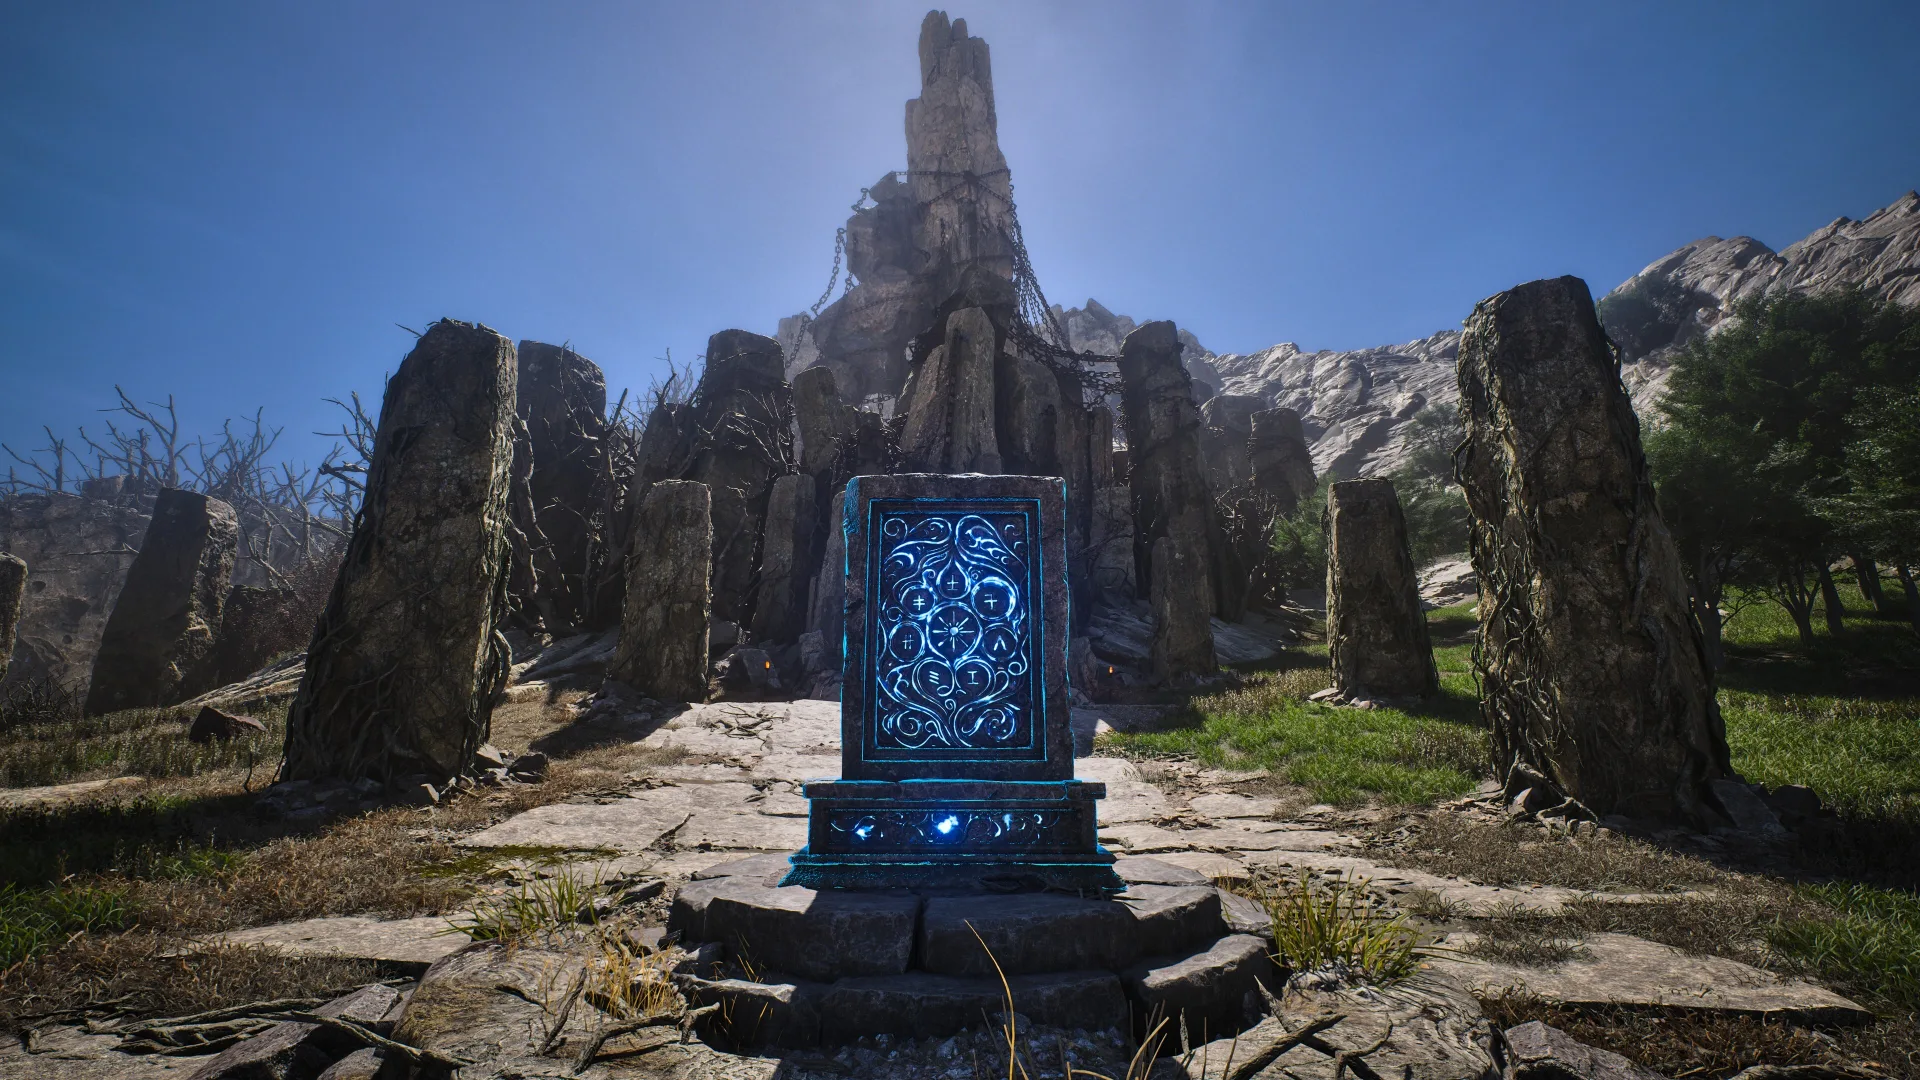
Each zone also hides Hersander’s Tower puzzles. Each tower gives a riddle describing the item it wants. Find every tomb in a zone and you get a unique accessory and unlock the Hereafter Challenge, a timed fight against a stronger boss with a leaderboard. Treat it as a late goal.
Step 7: Explore
Most EXP comes from questing, finding things and completing points of interest, not from killing monsters. Field bosses roam the open world and drop gear, including accessories, plus crafting materials you cannot get anywhere else. Early Access opens more than 60 areas across Diamond Shores, Gylden Ruins and Astron Plains. See the map.
First launch tips
- Expect a shader compilation screen on first launch. Let it finish.
- Your server region is chosen automatically. See servers.
- Ten UI shortcuts can be rebound, and camera Y-axis inversion has separate mouse and controller settings.
- Demo progress does not carry over to Early Access.
What we do not know yet
XLGAMES has not published a leveling route, starter gear details, or a healer class. We are compiling a first-hour route from launch-week player reports.